We prefer camping simple, minimal and with as little hassle as possible. Our yellow Caddy was perfect for that: small, nimble and with a Ququq box in the trunk we had almost everything we needed. The one thing we were missing from the start was a way to power our compressor cooler without relying on a campsite power hookup.
My first approach was the obvious one: buy a ready-made battery pack, add a solar panel, plug everything together, done. So I got a battery with an Anderson connector for the solar panel and a 12-volt output for the cooler. On paper it all made sense. Then came the first test and the disappointment: as soon as the cooler went into standby and stopped drawing power, the battery simply shut itself off. The cooler stayed off and the battery would not turn back on by itself. As I found out, many off-the-shelf battery packs have this problem: when the output voltage drops, they go into sleep mode after a short time.
So I needed a different solution. I looked into how people build small solar setups at home, balcony power stations and similar projects. The principle is actually simple: a solar charge controller connects the solar panel to the battery, add a few fuses and connectors, and that is basically it. How hard can it be, I thought. And honestly, it was also a welcome hobby project to get into.
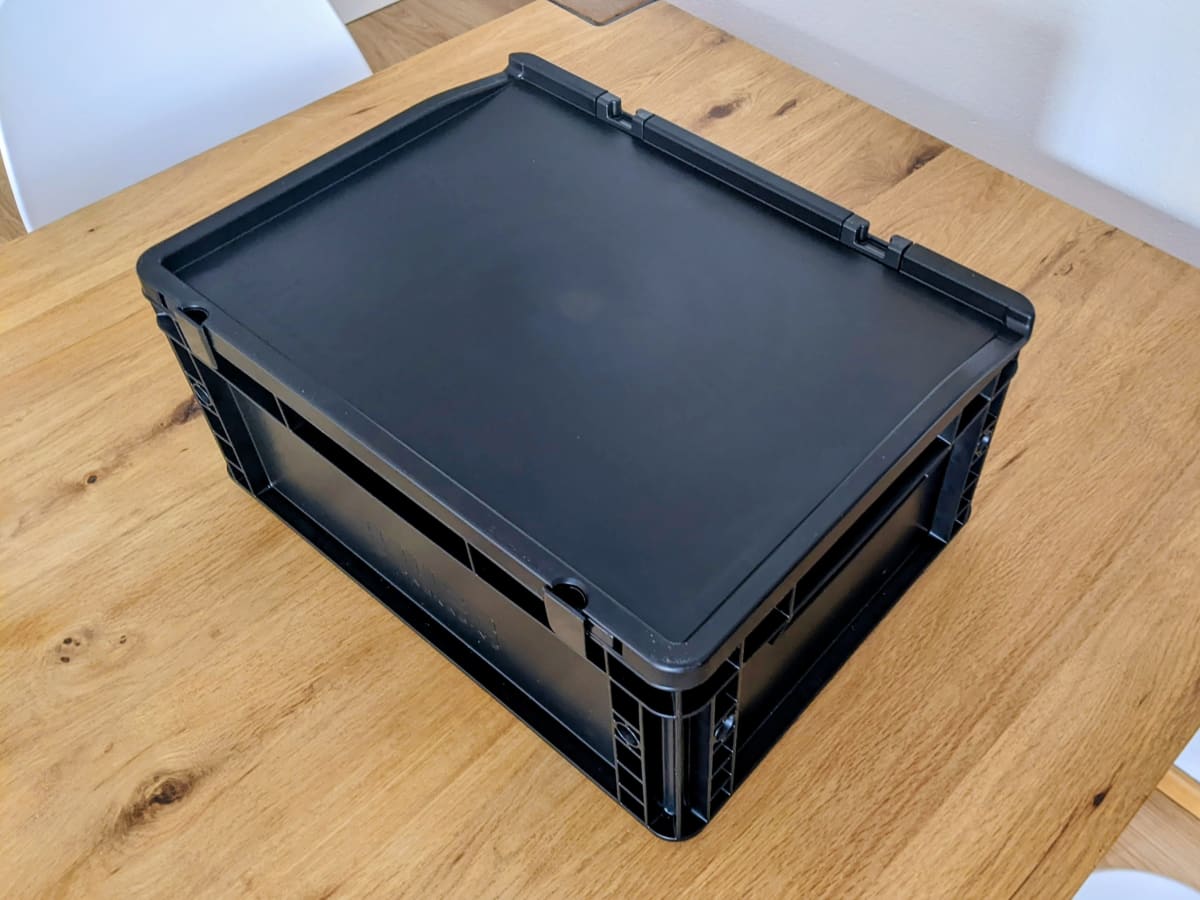
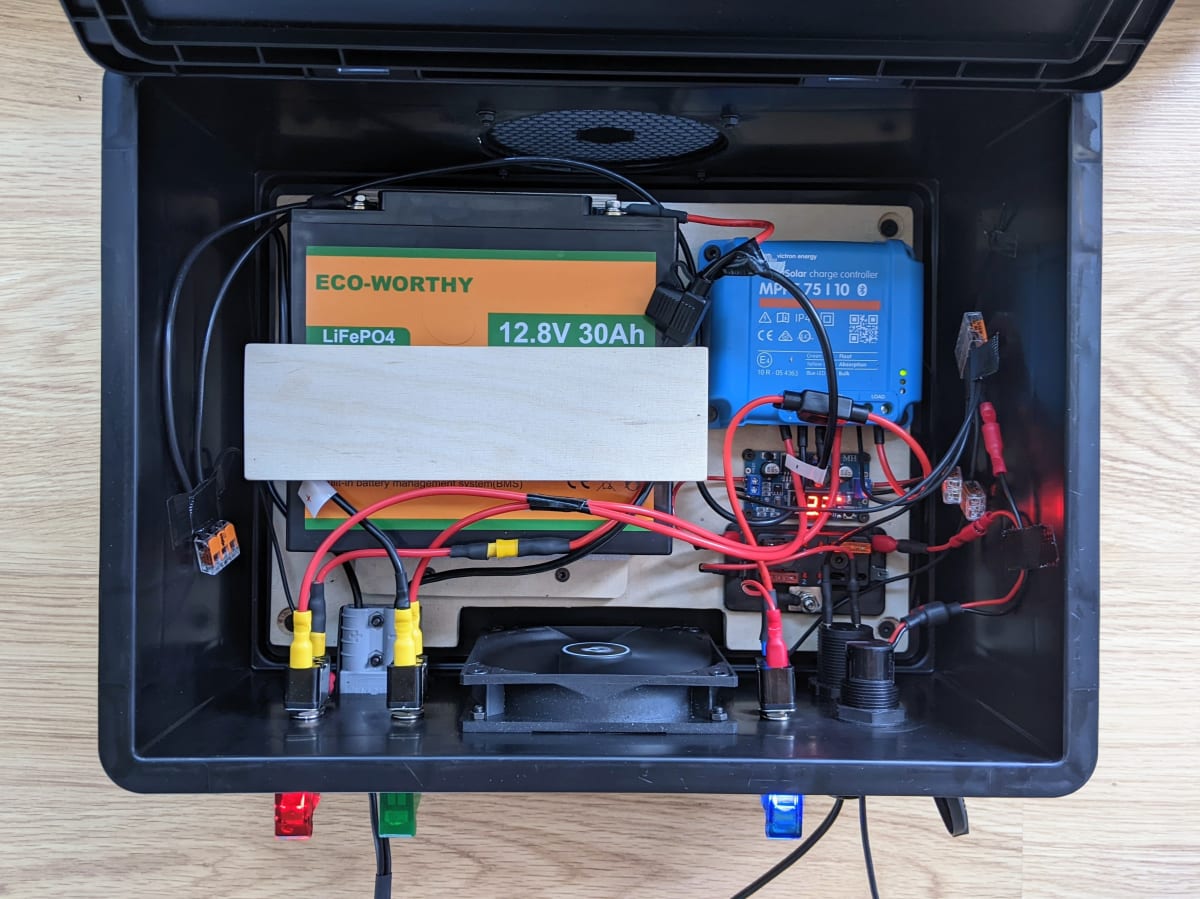
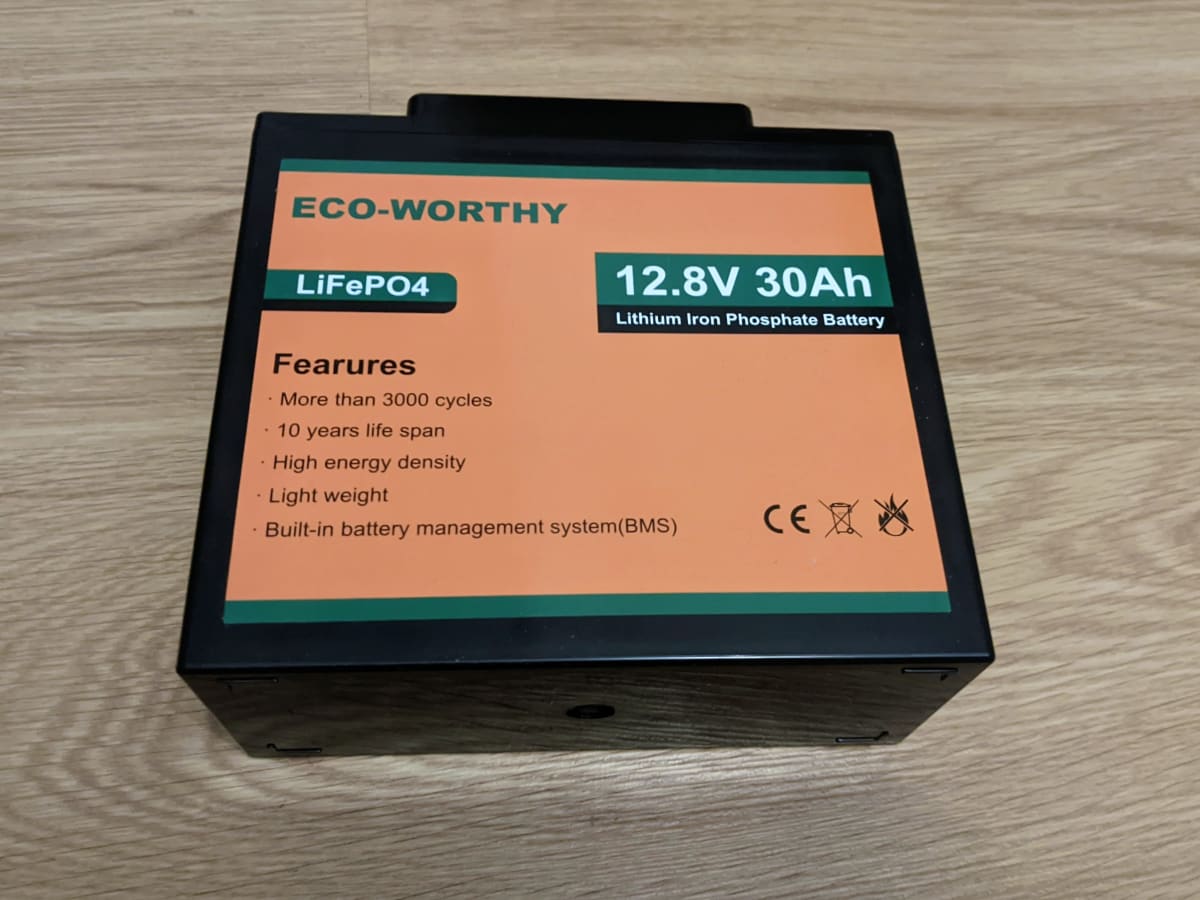
For the enclosure I chose a black Eurobox from Auer Packaging, measuring 40 x 30 x 18.5 cm. Small enough to not get in the way inside the Caddy, but big enough for all the components. The battery ended up being a 30 Ah lithium iron phosphate cell, an affordable but solid model that should be more than enough for our energy-efficient cooler.
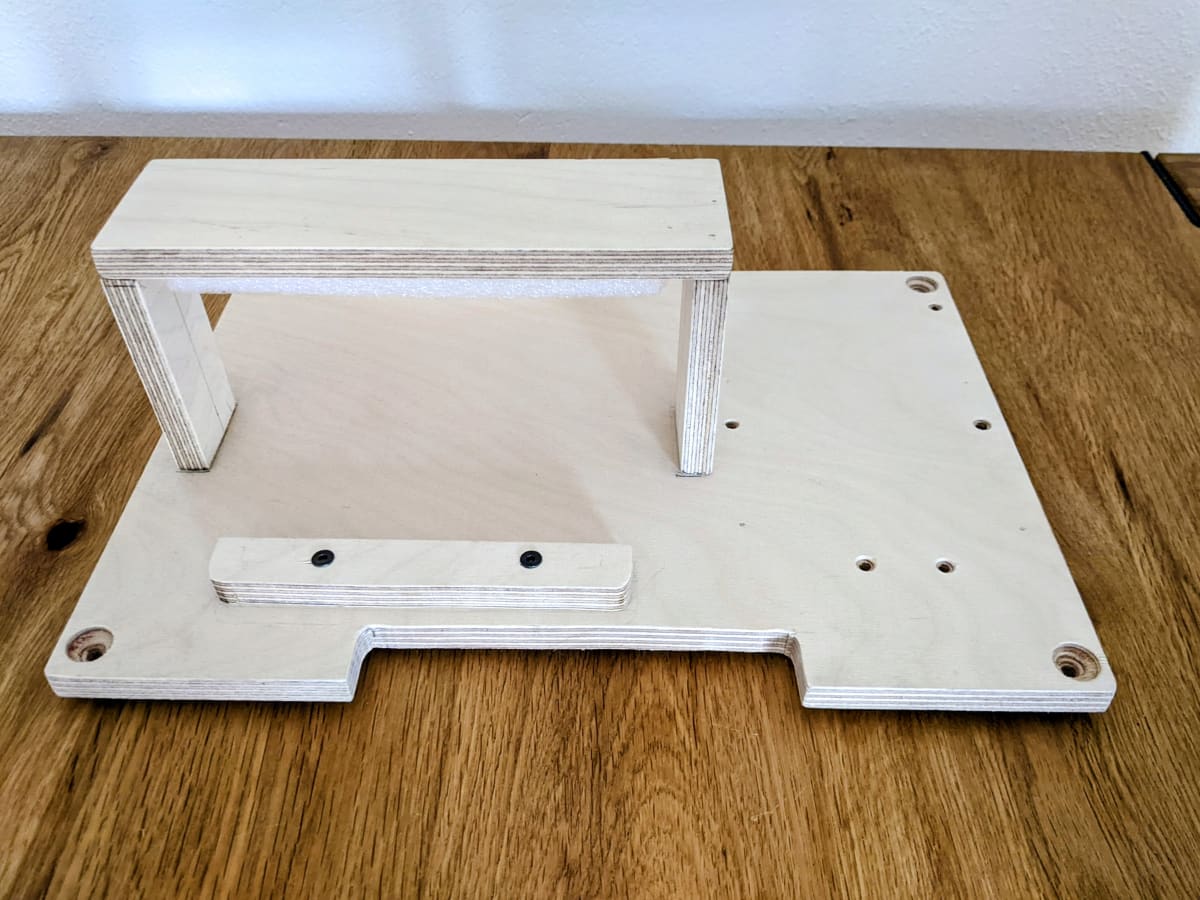
Inside the Eurobox I first needed a base plate to mount the components on. I used several layers of craft plywood for that. On top of it I built a small U-shaped bracket to hold the battery securely in place.
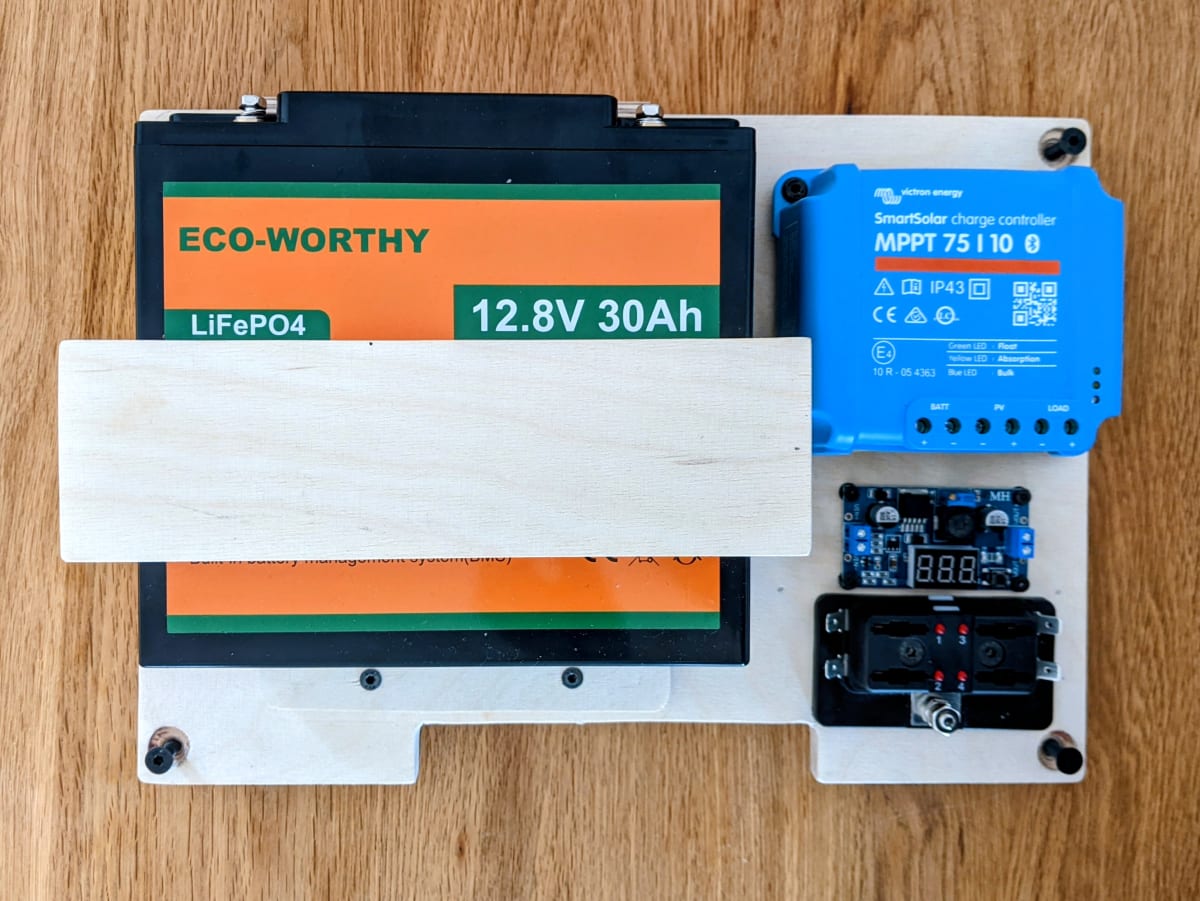
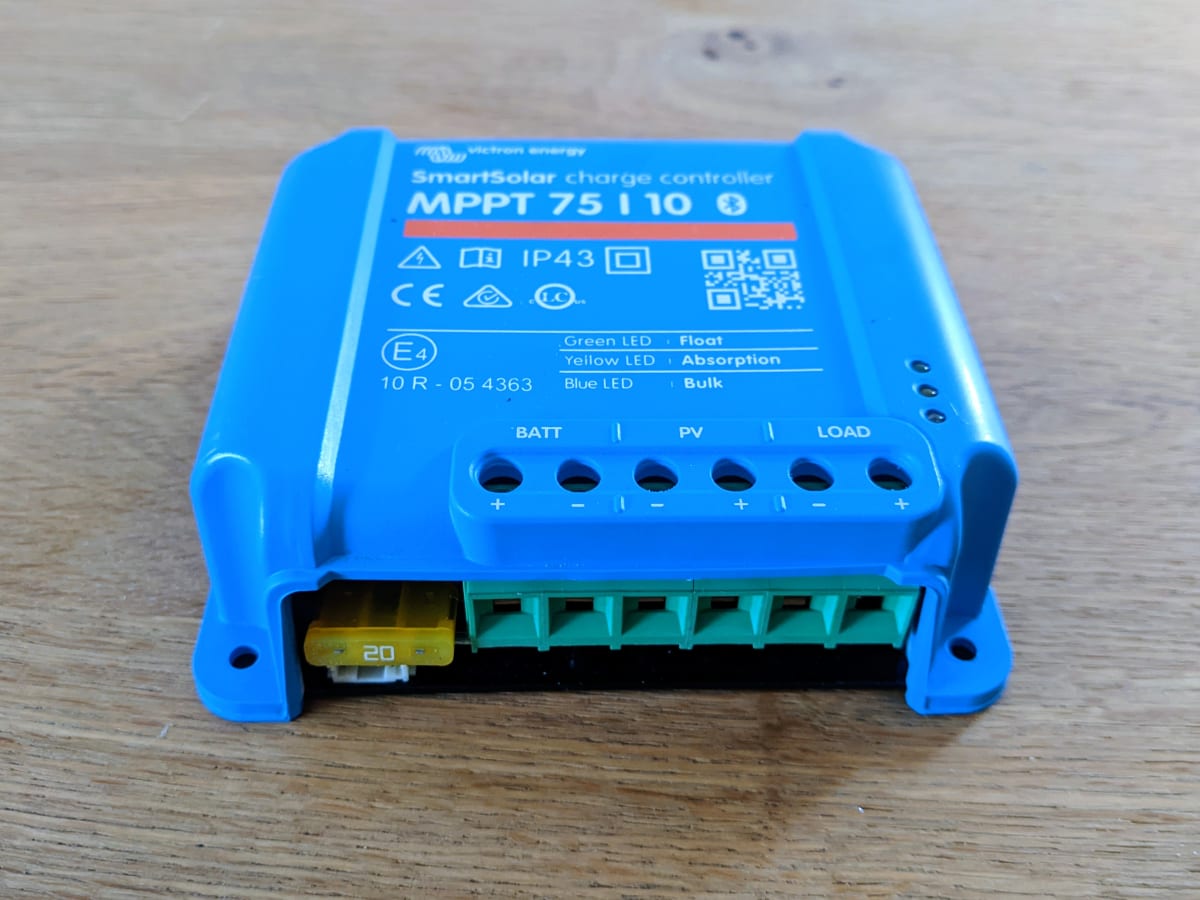
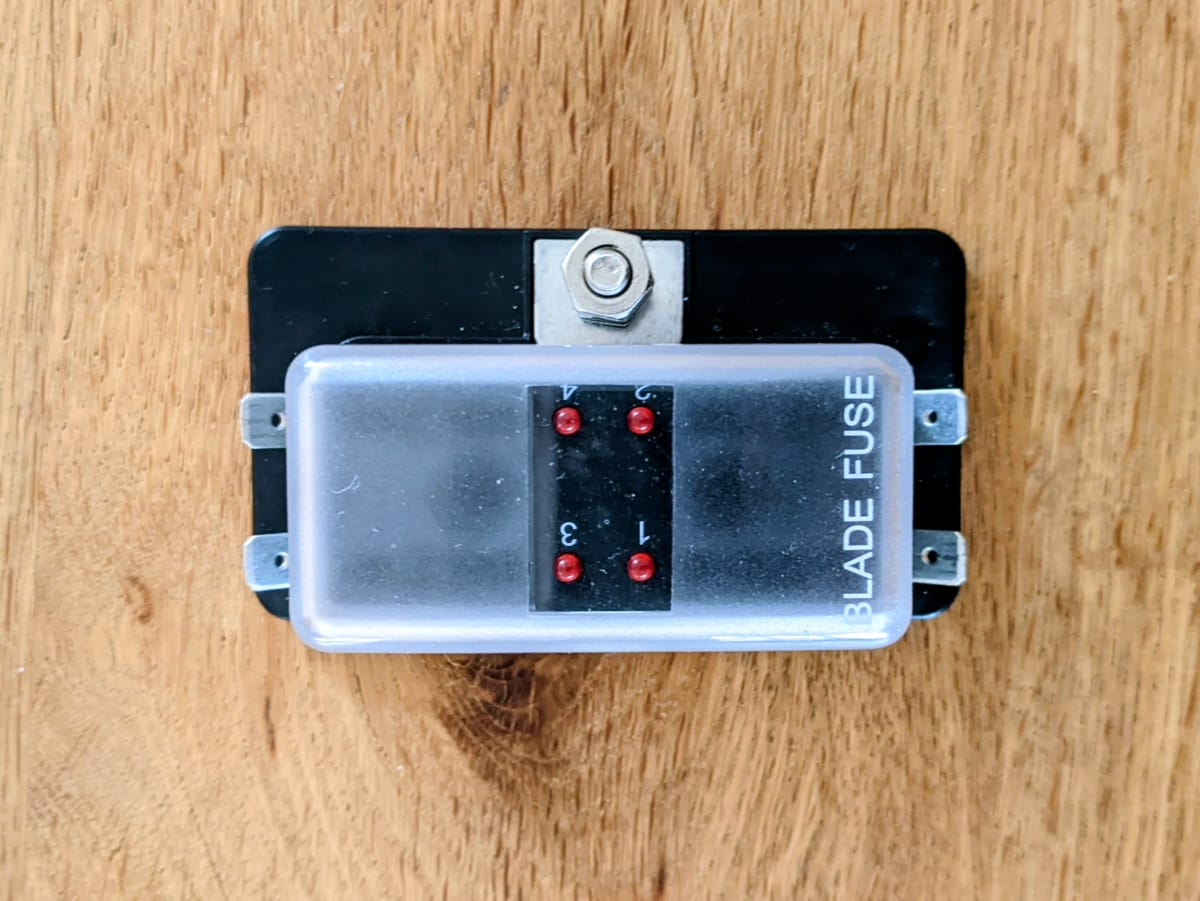
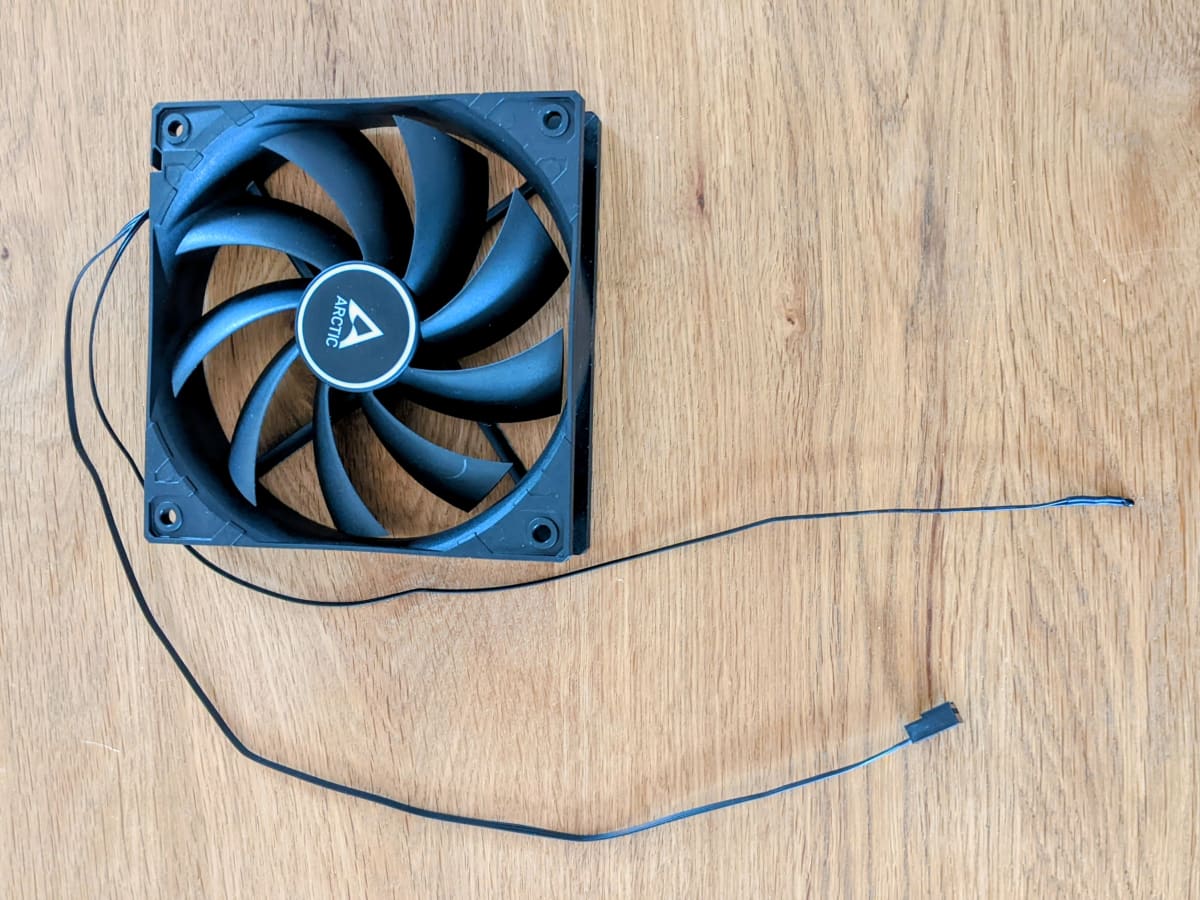
On the left side of the base plate sits the battery in its bracket. To the right I fitted the MPPT solar charge controller, a fuse holder, and a small buck converter. The buck converter supplies the correct voltage to a 120 mm fan – a small extra that was not strictly necessary, but makes sense on sunny summer days. The fan has a built-in temperature sensor and regulates itself.
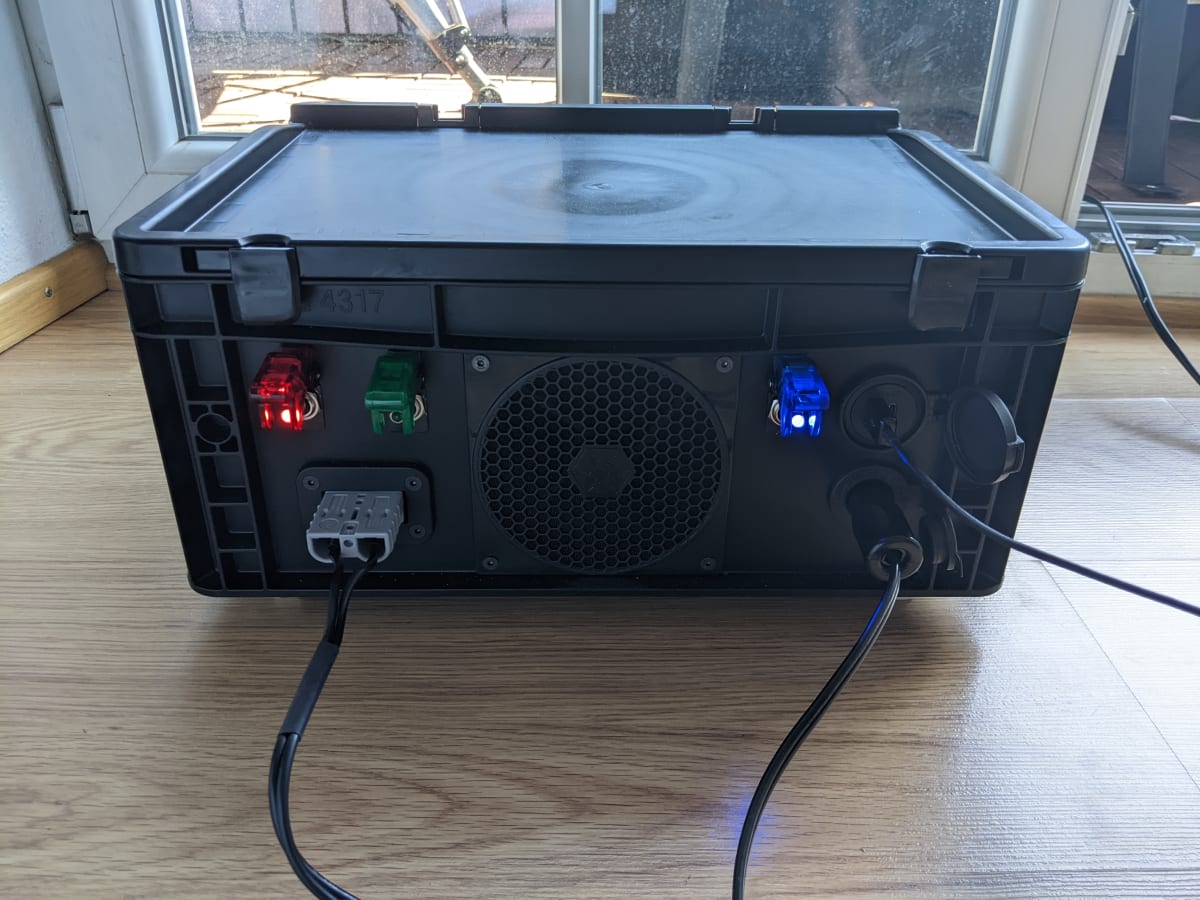
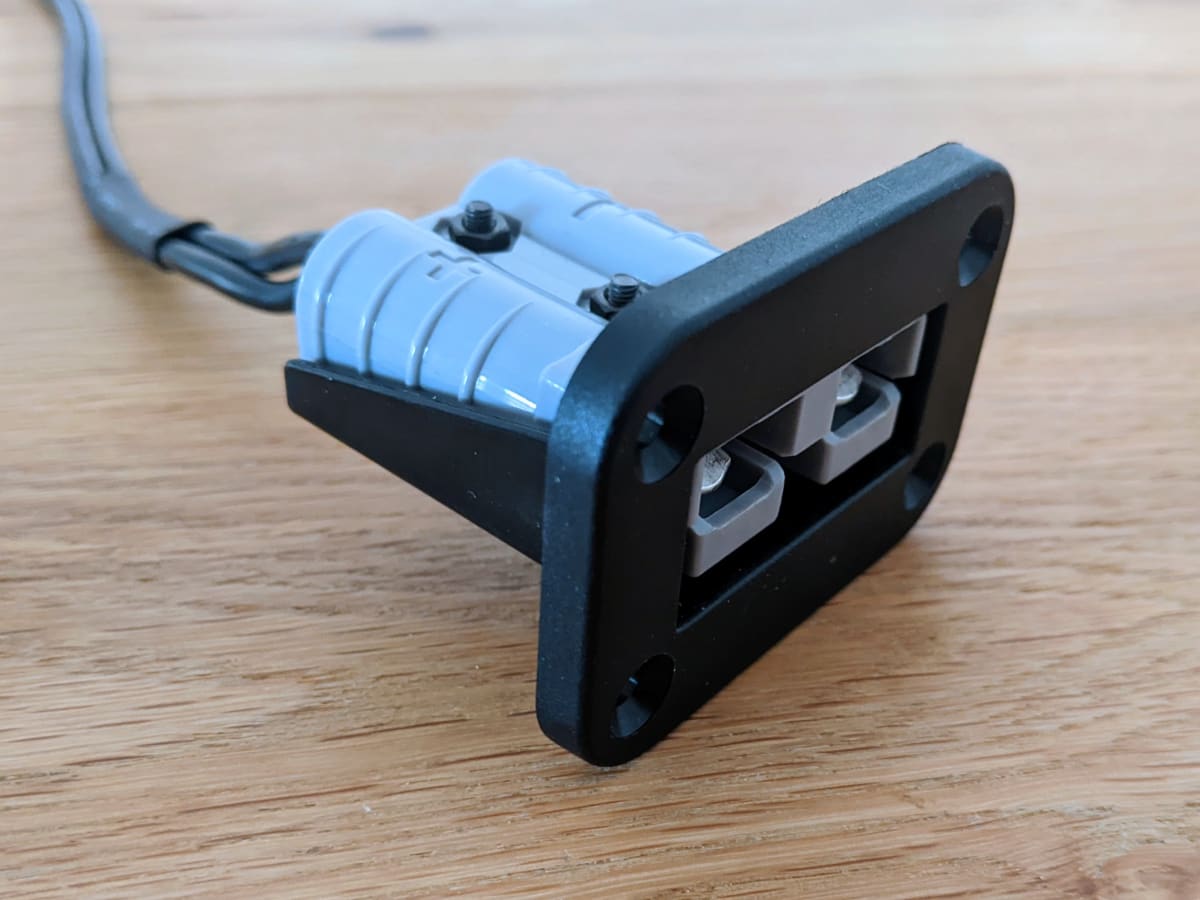
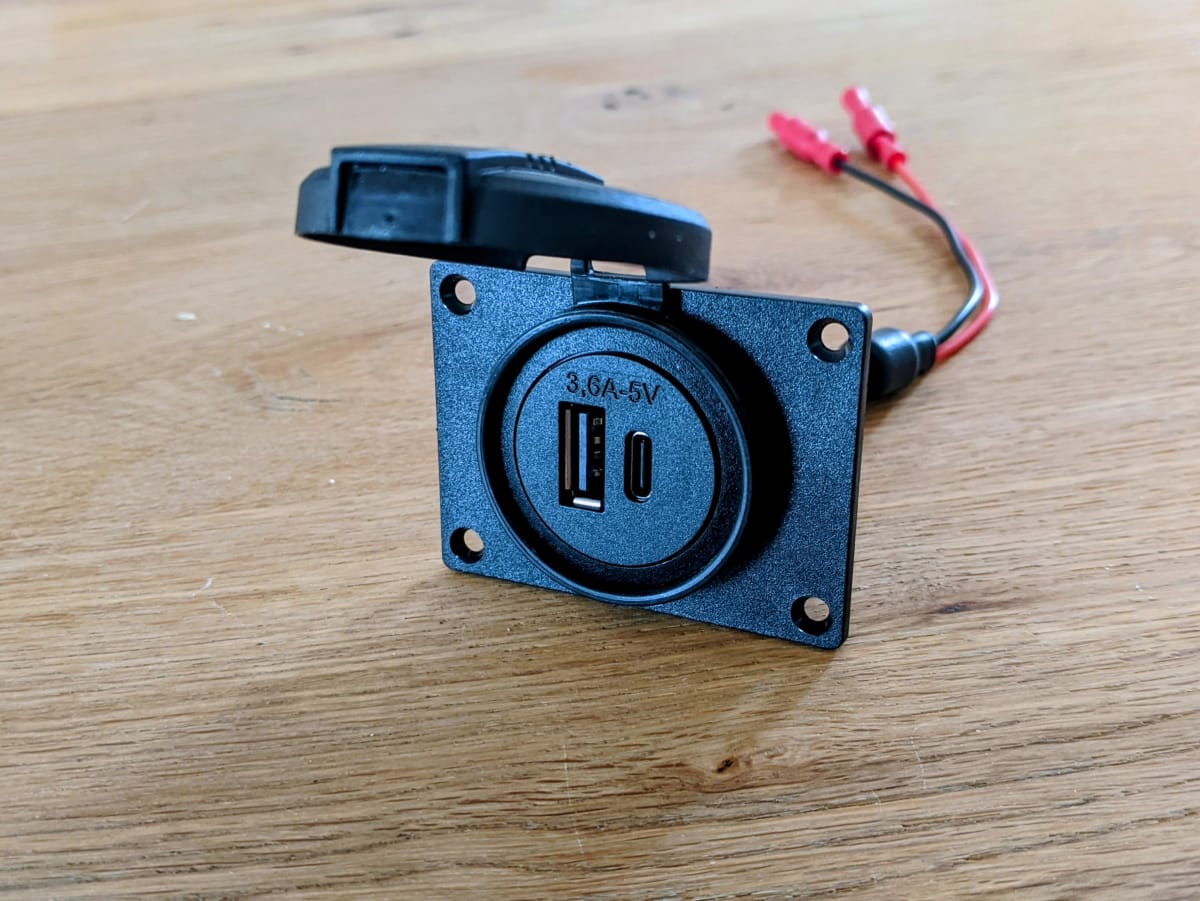
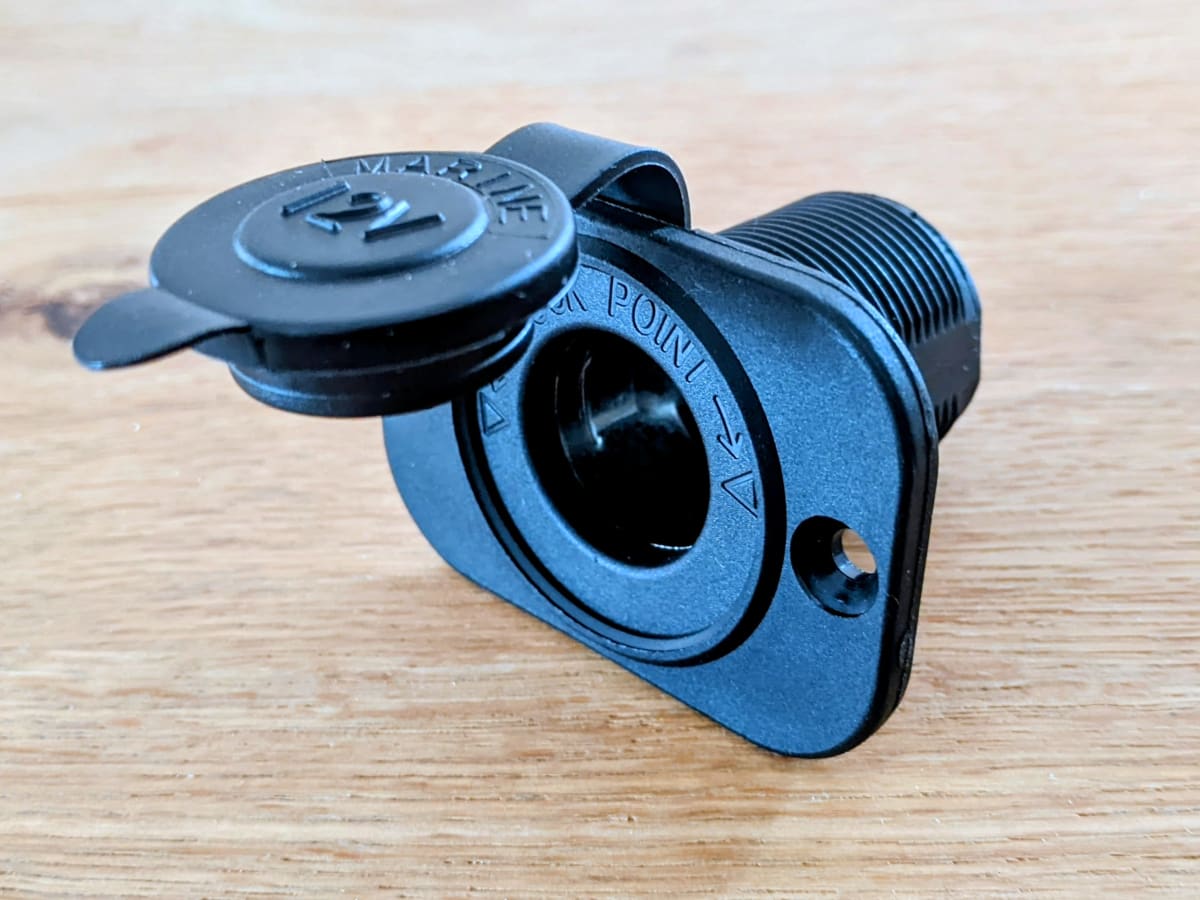
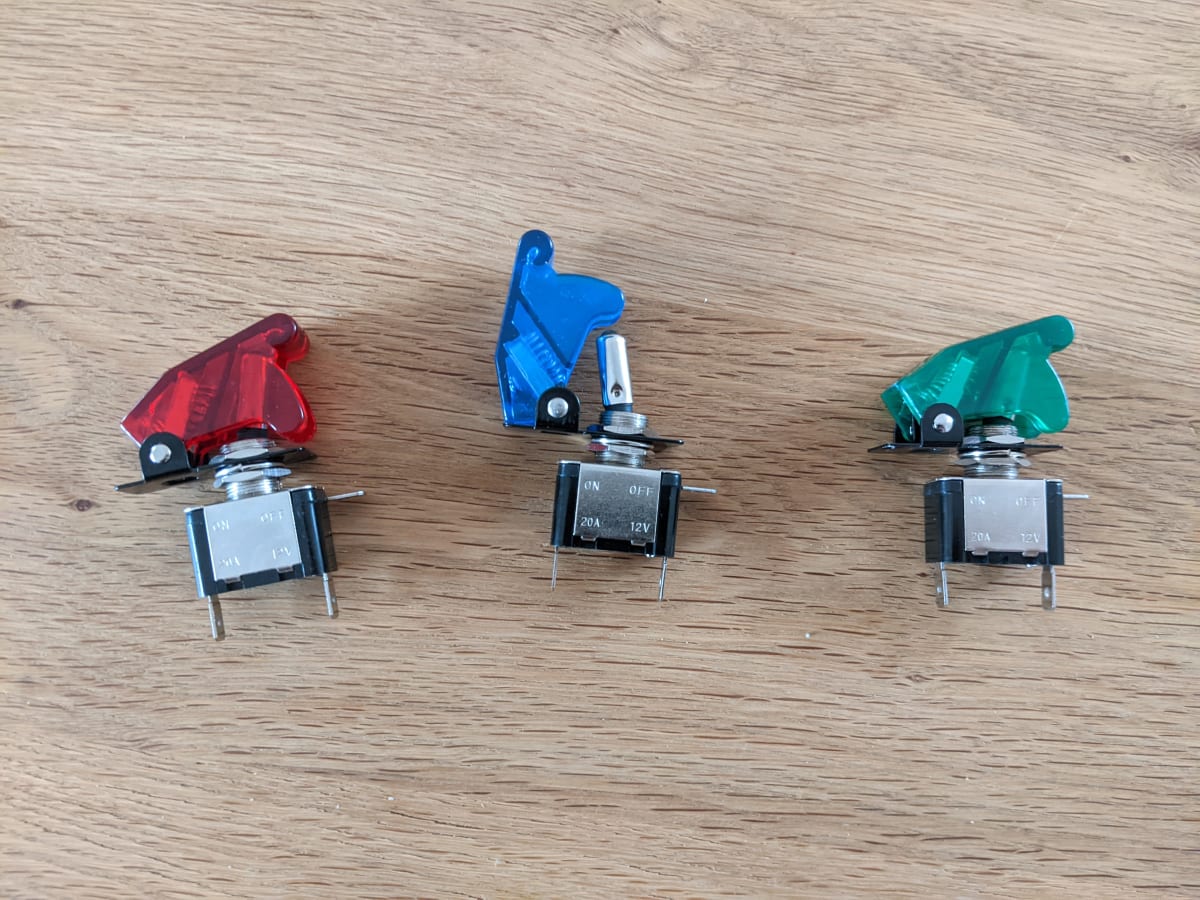
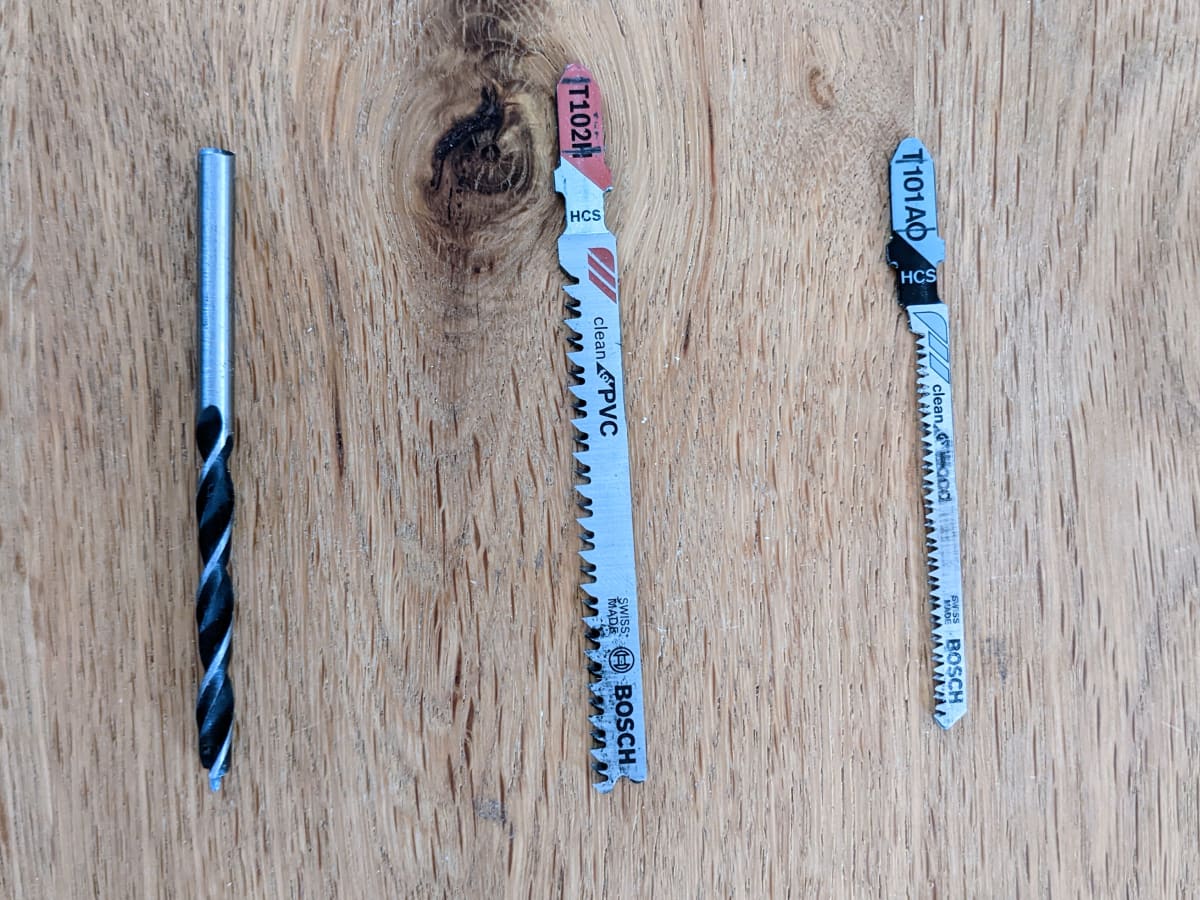
Then came the exciting part: fitting the base plate into the Eurobox and wiring everything up. I cut two round openings into the box with a jigsaw for ventilation – one at the front for the fan, one at the back as an exhaust. The smaller holes for the connectors were made with Forstner bits and regular drill bits. On the front panel I mounted an Anderson connector as the solar input, a 12-volt socket for the cooler, a USB socket with A and C ports for charging phones and other devices, plus three coloured toggle switches with illuminated caps: red for the battery, green for the solar input, and blue for the outputs. This way everything can be switched on and off individually.
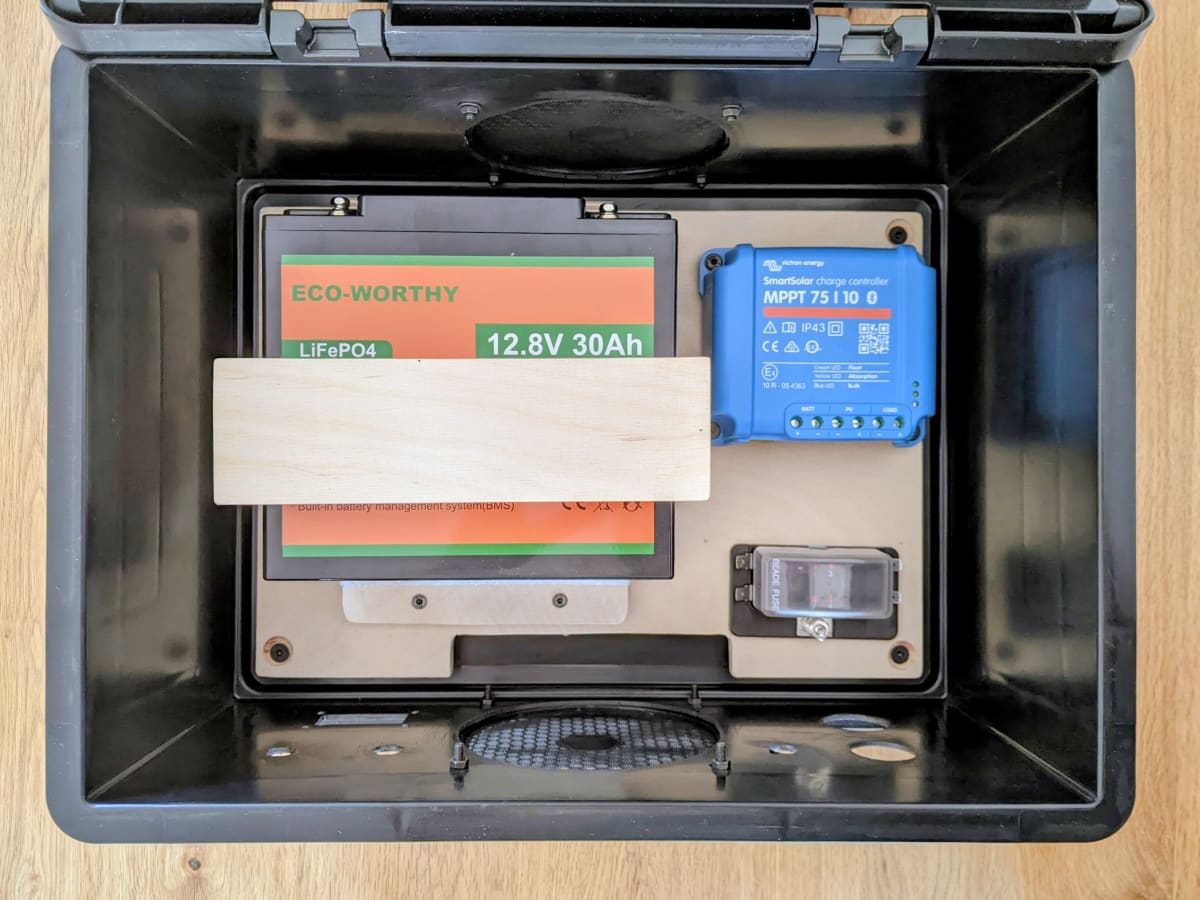
The wiring was one of the bigger challenges. There is enough space inside a Eurobox of this size, but when you start connecting everything it gets tight quickly. In a commercial product every millimetre is optimised, but with a DIY build you need considerably more room – if only because you might have to take something apart or adjust it later. But it just about fit. All consumers are individually fused, and the battery has an additional main fuse on the positive lead. I check regularly that everything is still tight and working properly.
The fan openings got black fan grilles that match the Eurobox perfectly. The 12-volt socket and the USB socket have dust and splash caps. And the Eurobox lid locks shut, so nothing can open during transport.
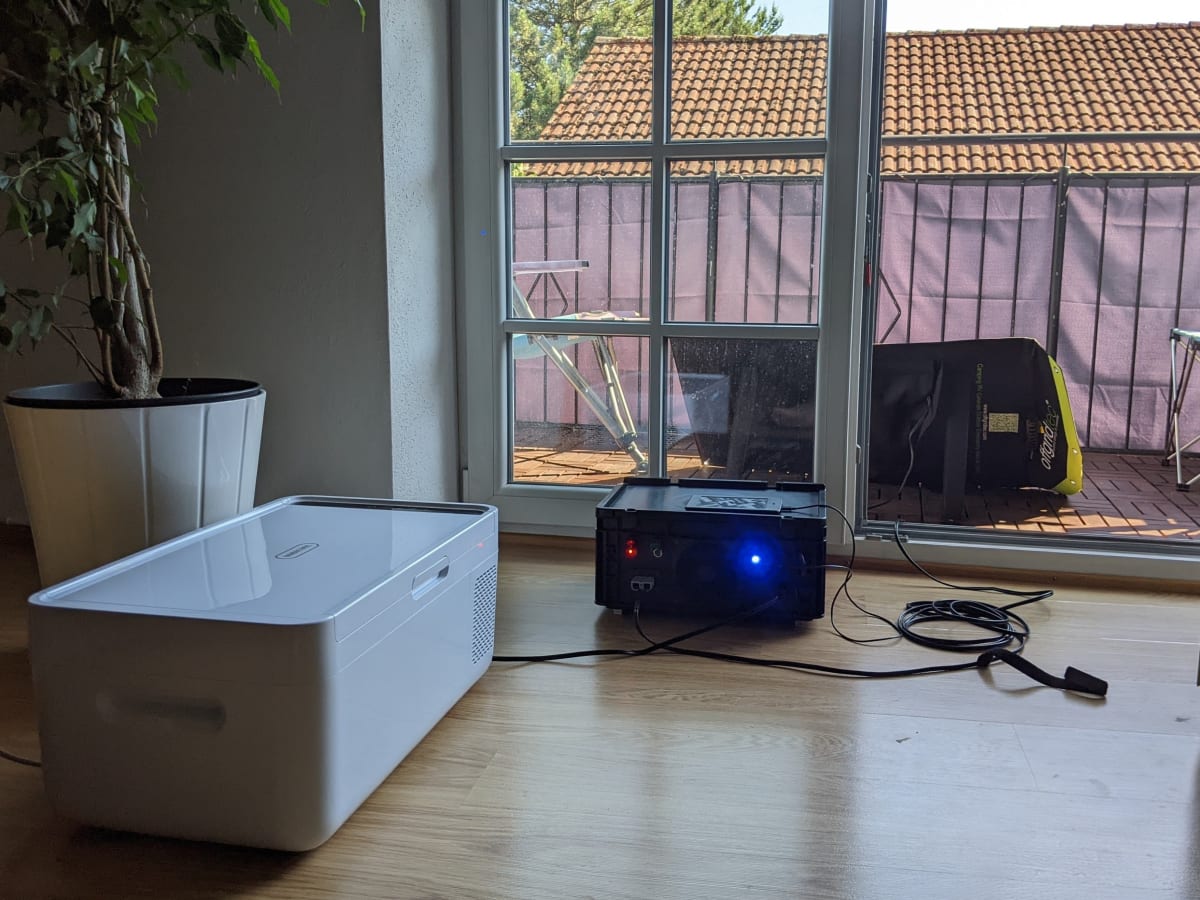
The last picture shows the box in action, here still at home during the first test. On the balcony sits the foldable 80-watt solar panel, which eventually gave up and was replaced by a 100-watt solar suitcase. Inside on the floor is the battery box with its glowing toggle switches, a Kindle charging on top, and the compressor cooler next to it.
The box has been in use for several years now and has held up remarkably well. Functionally there have been almost no issues. A few hours of sun per day are enough to keep the cooler running reliably. On the side we charge phones, occasionally run a small fan, a lamp, or our lanterns at the tent awning. It is obviously not enough for an electric kettle, but for everything else it is more than sufficient.
What really makes this box special for us is the independence. We often camped without a power hookup, just with the solar panel, and it always worked. You do have to make sure the box does not sit in the rain – it is not fully waterproof. But it has survived the occasional shower without any problems. And honestly, setting up and angling the solar panel is part of the camping fun for me: a bit of tinkering, a bit more freedom, even when you could have just booked the power hookup at the campsite.
Below is a gallery showing some of the components in more detail.

And here is an overview of all the components and tools used:
| Component | approx. price |
|---|---|
| LiFePO4 battery 30 Ah | ~80 € |
| MPPT solar charge controller | ~45 € |
| Eurobox 40 x 30 x 18.5 cm | ~15 € |
| Fuse holder | ~8 € |
| Buck converter | ~5 € |
| 120 mm fan with temperature sensor | ~10 € |
| Fan grilles (2x) | ~5 € |
| Anderson connector | ~5 € |
| 12 V panel-mount socket | ~8 € |
| USB panel-mount socket (A + C) | ~10 € |
| Illuminated toggle switches (3x) | ~10 € |
| Fuses, cables, crimp terminals | ~15 € |
| Craft plywood | ~5 € |
| Screws, nuts, small parts | ~5 € |
| Total (approx.) | ~226 € |
| Tools |
|---|
| Jigsaw |
| Drill |
| Forstner bit set |
| Soldering iron |
| Wire stripper |
| Crimping tool |